


Blog
How to Light a Pilot Light on a Water Heater: A Step-by-Step Guide
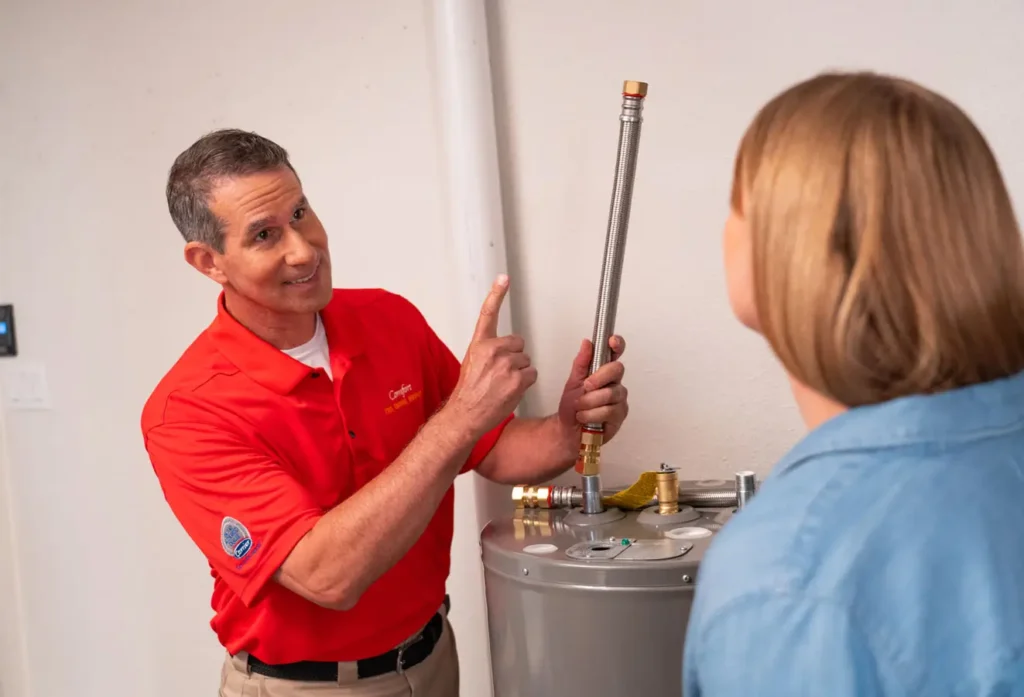
Homeowners need to learn how to safely light a pilot light on a water heater. This guide covers safety precautions, step-by-step relighting instructions for manual and electronic ignition systems, and when to call a professional.
Why Your Pilot Light Might Be Out
Pilot lights can go out for various reasons, including:
- Drafts
- Dirty burners
- Faulty thermocouples
- Simply being turned off during vacation
Safety First: What to Check Before You Begin
Safety is always the top priority when working with gas. Wait five to 10 minutes after turning off the gas to allow any residual gas to dissipate. Then smell for gas before attempting to relight the pilot, and if you smell a persistent odor, evacuate immediately and call your gas company or 911.
Do not relight the pilot in a poorly ventilated area or if the water heater shows signs of damage, such as rust or leaks. If the tank is leaking and needs to be emptied, follow the proper steps for how to drain a water heater before attempting further work. If the pilot light repeatedly goes out after relighting, there may be an underlying issue, like a faulty thermocouple, that requires professional diagnosis.
Identifying Your Water Heater Type
There are two main types of gas water heaters:
- Manual Ignition: Requires a match or lighter and has a pilot assembly visible through a sight glass
- Electronic Ignition: Has a built-in ignitor button near the control knob.
Newer models may have status lights or error codes that indicate pilot light issues. If you’re confused or hesitant, find your water heater’s instruction manual since exact relighting procedures can vary slightly by manufacturer. Relighting instructions may also be printed on a label attached to the water heater itself.
Tools and Materials You’ll Need
Electronic ignition systems don’t require external tools, since the ignitor button is built into the control panel, but for manual units, you may need a long-reach lighter or long matches and a flashlight to see the pilot assembly.
Never use a standard cigarette lighter or short matches. These put your hands too close to the gas burner.
Step-by-Step: How to Light a Manual Pilot Light
Always follow the manufacturer's lighting instructions.
- Access the Pilot Light: Remove the access panel if necessary, then turn the gas regulator valve to “Off” and wait 5-10 minutes for residual gas to clear.
- Set the Controls: Turn the temperature control to its lowest setting and the gas regulator valve to “Pilot.”
- Light the Pilot: Use the built-in igniter if available. Otherwise, ignite the flame close to the pilot opening and press the pilot reset button to release gas to the pilot tube. Hold the button for 30-60 seconds after the flame ignites to allow the thermocouple to heat up and confirm the flame is stable.
- Restore Settings: Once the pilot stays lit, turn the gas valve to “On,” set the desired temperature, and replace the access panel.
Step-by-Step: How to Light an Electronic Ignition Pilot
Follow the same safety precautions as for manual pilot lights. Turn the knob to the “Pilot” setting and press the ignitor button repeatedly, about once per second, while holding the pilot knob down. You’ll hear a clicking sound. Continue pressing for up to 90 seconds until the pilot lights.
Hold the pilot knob down for 30-60 seconds after the flame ignites to allow the thermocouple to heat up, turn the control knob to the “On” position, and you’re good to go. If the pilot doesn’t light after several attempts, wait 10 minutes before trying again to prevent gas buildup.
Troubleshooting: What If the Pilot Light Won’t Stay Lit?
If the pilot light goes out after you relight it, you may have an issue with the safety components or gas supply. Common causes include:
- Faulty Thermocouple: This safety sensor shuts off the gas when it doesn’t detect a flame and is one of the most common causes of pilot light problems.
- Dirty Pilot Assembly: Dirt or debris in the burner tube or pilot orifice can restrict gas flow. You may be able to clean visible components with a soft brush.
- Gas Supply Problems: A closed gas valve or low gas pressure can prevent the pilot from staying lit.
If the pilot repeatedly goes out, contact a professional to diagnose and repair the underlying problem.
When to Call a Professional Water Heater Contractor
Call a professional if you have any of the following issues.
- Pilot light won’t stay lit after multiple attempts
- Strong gas odors
- Water heater not producing hot water after relighting
- Visible damage to the unit
Total Comfort’s licensed technicians can diagnose and complete water heater repairs often in the same day. Replacing older water heaters may also be more cost-effective than repairing them. In this case, Total Comfort provides comprehensive water heater installation.
Why Total Comfort Is Your Trusted Twin Cities Water Heater Expert
Total Comfort has the best water heater installers in St. Paul, Minneapolis, and the Twin Cities metro area. Our licensed HVAC and plumbing providers are trained to diagnose and repair all types of gas water heaters, including pilot light issues, thermocouple failures, and burner problems.
We offer 24/7 emergency water heater service for urgent failures, which is critical during Minnesota winters. Our technicians understand Minnesota’s extreme climate and ensure water heaters are properly maintained for year-round reliability.
Schedule Online